Easter Activities
Here are some fun Easter Activities for all ages that use regular household items. The projects increase in level of difficulty as you scroll down the page.
Ducklings
Easter activities that involve hand and footprints make fun keepsakes. These hand and footprint ducklings are simple enough for the youngest students in your home.
|
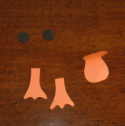
Cut two eyes, a duck bill and two webbed feet out of construction paper. |
|
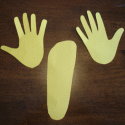
Cut two handprints and one footprint out of yellow construction paper. |
|
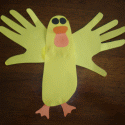
Glue the eyes and duckbill to the heel of the footprint. Glue the webbed feet to the widest part of the foot. Attach the handprints to the back of the footprint to form wings. |
Jumbo Easter Egg
Watch out! This jumbo egg project is messy, but that's part of the fun. This is Easter activity is well suited for older elementary school students, and requires more than two hands.
|
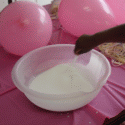
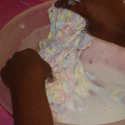
Blow a latex balloon into the shape of a large egg. In a bowl, mix equal parts water and glue. |
|
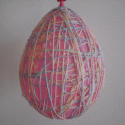
Cut yarn into strings of different lengths and dip them into the glue mixture. Have a partner hold the balloon as you wrap strings of yarn around it. For us it worked best to wrap the strings vertically, then horizontally. |
|
Tie yarn around the knot of the balloon and hang it up to dry. (It may take a day or two for the yarn dry completely.) Put newspaper or plastic beneath the balloon to catch excess glue. |
|
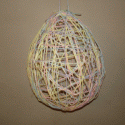
Once the yarn is dry, pop the balloon and remove it. |
Easter Egg Tree
These Easter egg trees make great centerpieces. Follow the directions below for decorating blown eggs, or save time by decorating eggs made from styrafoam.
|
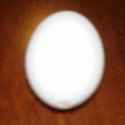
Use a toothpick to poke holes in both ends of an egg. Stick the toothpick in one end of the egg and swirl it around to break the yolk. Put your mouth around one end of the egg and blow the contents of the egg out of the hole in the other end. Run water through the inside of the egg so it won't begin to smell. |
|
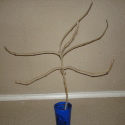
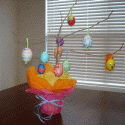
Stick a large branch into an empty container filled with sand or gravel. Cover the container with tissue paper, wrapping paper, or cloth, and tie with ribbon or string. |
|
Decorate the eggs. Tie a knot in the end of a pipe cleaner. String the other end of the pipe cleaner through the holes in the egg. Hang decorated eggs from the branch to make an Easter egg tree. |
Decorated Easter Eggs
You don't need to buy a kit from the store to decorate Easter eggs. Make your own dye by combining one cup of water, one teaspoon of vinegar, and a few drops of food coloring of your choice. Here are some other ideas for decorating Easter eggs:
|
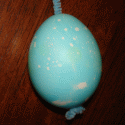
Create a marble effect on the egg by adding a tablespoon of vegetable oil to the dye. |
|
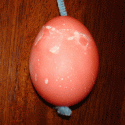
Here's another example of a marbleized egg. |
|
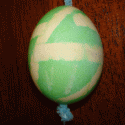
Create a pattern on the egg with masking tape. Dye the egg, let it dry, and remove the tape to reveal the pattern. |
|
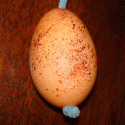
Dye the egg and allow it to dry. Put a few drops of food coloring on an old toothbrush. Flick the bristles with your thumb to spray drops of food coloring on the egg. Allow the egg to dry. |
|
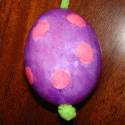
Decorate the egg with paint or markers. |
|
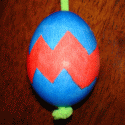
Here's another example of an egg decorated with markers. |
|
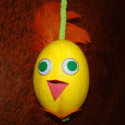
Here's an egg decorated with paint, google eyes, construction paper and a feather. |
|
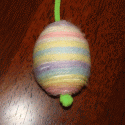
Yarn and ribbon also make great adornments. |
|
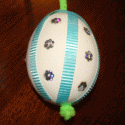
This egg is decorated with sequins. |
|
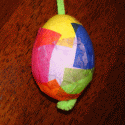
Here's an egg decorated with squares of tissue paper. |
For more pictures of my family's celebrations, visit my homeschool blog.
Claim Your Free Copy of
101 Ways to Save Money on Homeschooling!
Enter your name and e-mail address below to receive a FREE copy of 101 Ways to Save Money on Homeschooling!
You'll also join over 5,000 homeschoolers in receiving our free, monthly newsletter full of tips and ideas for Successful Homeschooling.
 |